
Certified Business
With over 10000+ orders
With over 10000+ orders
Learning how to use a heat press machine can seem intimidating at first, but once you understand the basics, it becomes one of the most satisfying and creative tools you'll ever use.
Whether you want to customize shirts for your own brand, create gifts for your peers, or even start a business, heat press machines offer an unlimited number of possibilities. Tote bags, coasters, pillows, phone cases, etc, what you can come up with is only limited by your imagination.
In this guide, I’ll walk you through how to use a heat press machine, step by step. I will also show you the correct way to press shirts and will provide some useful tips and suggestions on some of my favorite machines.

Let’s begin with the basics. Whether you're customizing a tote bag or printing your own apparel line, knowing how to use a heat press machine properly is key. This is what I do:
Secondly, with the pressure knob, adjust the level. Light pressure is the way to go in the case of thin fabrics.
For thicker fabric, you need to apply more pressure: in fact, the thicker the material, the more pressure you apply. I always do some testing on a scrap first--better safe than sorry.
Thirdly, you preheat the surface. This eliminates any moisture and softens creases. Just spend a few seconds pressing your blank fabric before transferring your design to the sheet.
Moreover, put your transfer paper or vinyl on the item. Take your time; you can not press out a crooked design easily.
Additionally, reduce the heat platen, strike the timer, and allow the machine to do its work. Models for our auto-open heat press machines actually lift the platen automatically when the time is over.
Lastly, peel hot or await a cool peel depending on the transfer type you’re using. Never do anything with the transfer material except follow directions.

Now let’s talk about T-shirts. Since most people ask how to use a heat press for shirts, here’s how I do it step by step:
I also prefer to have a list of temperatures and times for various materials. Believe m,e it saves much guesswork. To help you get started, here’s a Heat Press Temperature Guide.

Don’t be concerned, especially when working with a circuit or small press. The process is nearly the same but requires a bit more care:
These compact presses are great for home users, but you’ll need to upgrade if you want to scale.
I’ve tested quite a few machines, and here are three top picks if you're ready to upgrade:
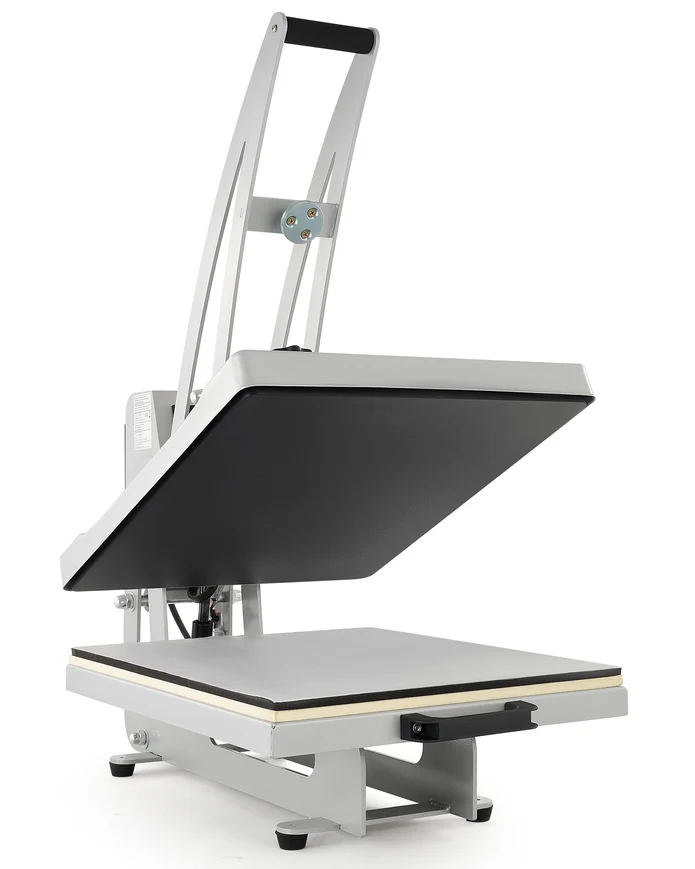
The Auto Open Clamshell T Shirt Press is a go-to for batch orders. It automatically opens when the timer goes off—no more burnt projects! The pull-out lower platen makes setup safe and easy. It is perfect for T-shirts, bags, coasters, and even ceramic tiles.
Why I love it: Hands-free operation + emergency stop button = safe and smart.
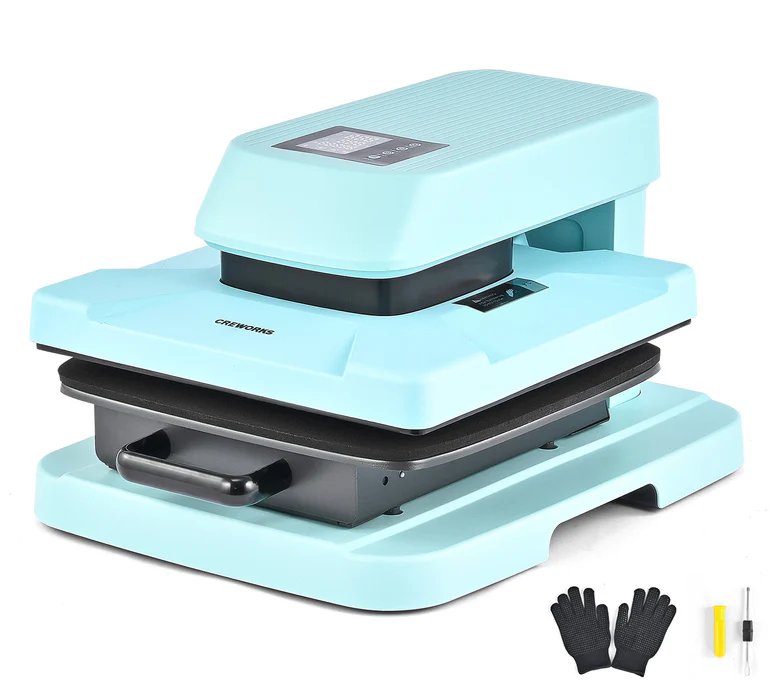
This 15x15 Auto Press is perfect for DIY creators and small businesses. It offers 3 preset temps and timers, 5 pressure levels, and a pullout platen. I use it for everything—shirts, pillowcases, and even phone cases.
Bonus: The auto-shutoff adds a layer of safety I really appreciate when working long hours.
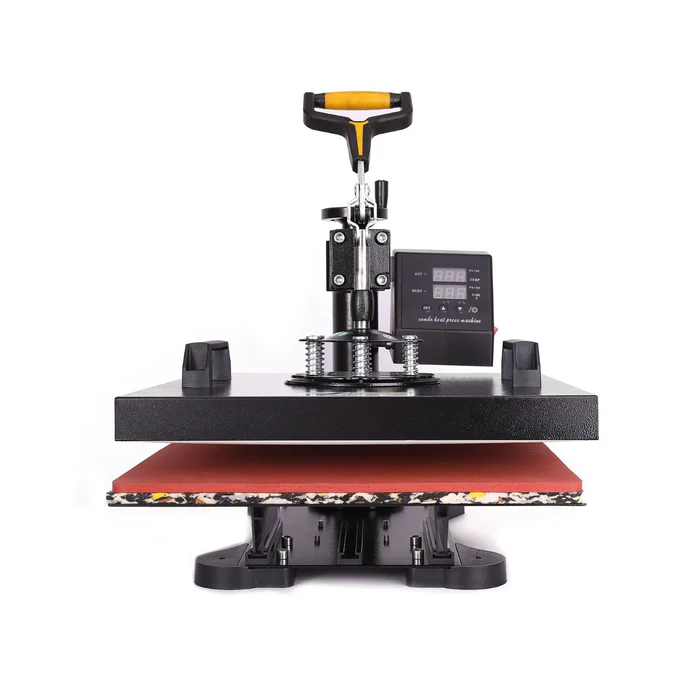
If you want flexibility, this 5-in-1 heat press is a beast. It handles mugs, plates, hats, and shoes, thanks to its interchangeable attachments. The 360° rotation and fast heat-up make it super efficient for bulk jobs.
Best for: Anyone who wants to offer a full product range or start a creative business.
Now that you know how to use a heat press machine, the only thing left is to dive in and start creating. It does not matter whether you want to make a few shirts to have fun or start a business; the tool that you use is what matters.
Take a look at all of our heat press machines, professionally made, at Creworks where DIYers, hustlers, and artists can use them easily.
Shop Now at Creworks and turn your designs into reality.


Leave a comment